Alias /myapp/ "C:/xampp/apps/myapp/htdocs/public/"
Alias /myapp "C:/xampp/apps/myapp/htdocs/public"
Include "C:/xampp/apps/myapp/conf/httpd-app.conf"
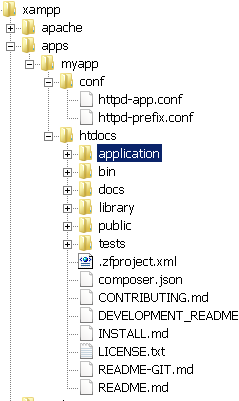
Check that you have a directory structure like this:
| This new htdocs directory will be the main working directory for your Zend Framework project. |
Within the myapp\ directory, create a new conf\ subdirectory.
Within the new conf\ subdirectory, use your text editor to create and populate a file named ttpd-prefix.conf with the following content:
Alias /myapp/ "C:/xampp/apps/myapp/htdocs/public/" Alias /myapp "C:/xampp/apps/myapp/htdocs/public" Include "C:/xampp/apps/myapp/conf/httpd-app.conf"
Within the conf\ subdirectory, also create and populate a file named httpd-app.conf with the following content:
<Directory C:/xampp/apps/myapp/htdocs/public>
   Options +FollowSymLinks
   AllowOverride All
   Require all granted
</Directory>
Edit the httpd-xampp.conf file in the apache\conf\extra\ subdirectory of your XAMPP installation directory and add the following line at the end to include the httpd-prefix.conf file created earlier.
Include "C:/xampp/apps/myapp/conf/httpd-prefix.conf"
| Remember to update the above file and directory paths so that they’re valid for your system. |
Launch a new Windows command shell using the "Shell" button in the XAMPP control panel.
Within the command shell, change to the myapp\htdocs\ directory and run the following commands to create a new stub project.
bin\zf.bat create project .
Check that you have a directory structure like this:
Restart the Apache server using the XAMPP control panel.
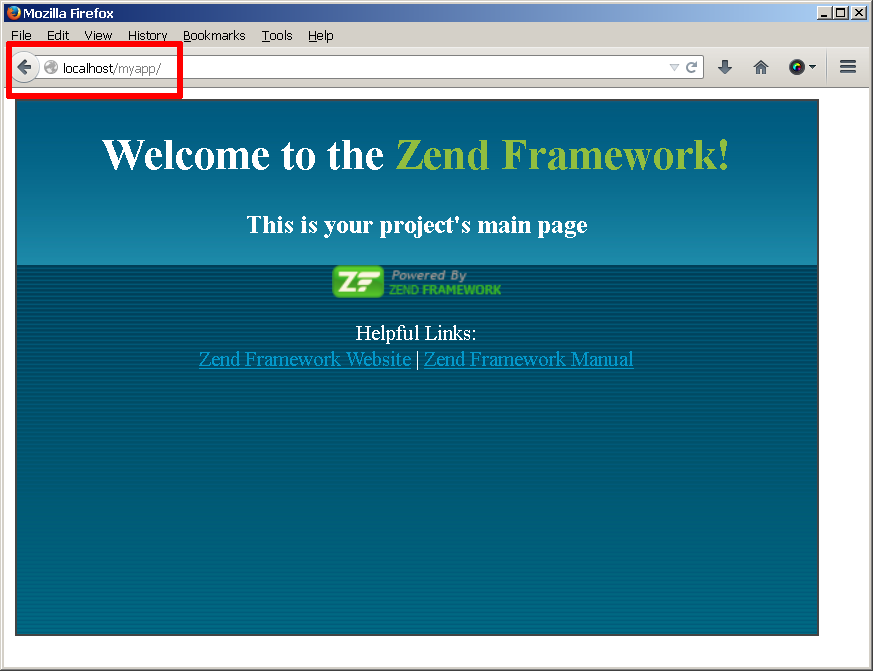
You should be able to access the Zend Framework skeleton application by browsing to http://localhost/myapp. Here’s what the default welcome page looks like:
You can now begin developing your Zend Framework application by modifying the skeleton application code. For more information, refer to the Zend Framework documentation.